.png)
Setting up auto-responders
What is an auto-responder? An auto-responder is an email that is automatically sent to respondents who have completed a survey. The email is based on the scores that the respondents have given.
For maximum efficiency, the automatic response is sent 30 minutes after the survey is completed. Additionally, you can configure an autoresponder for any score value that you want.
An auto-responder can be a useful tool to thank your customers for their feedback and to let them know their opinion matters.
IN THIS ARTICLE
1. Setting up auto-responders:
- Go to Touchpoint Settings
Option 1:
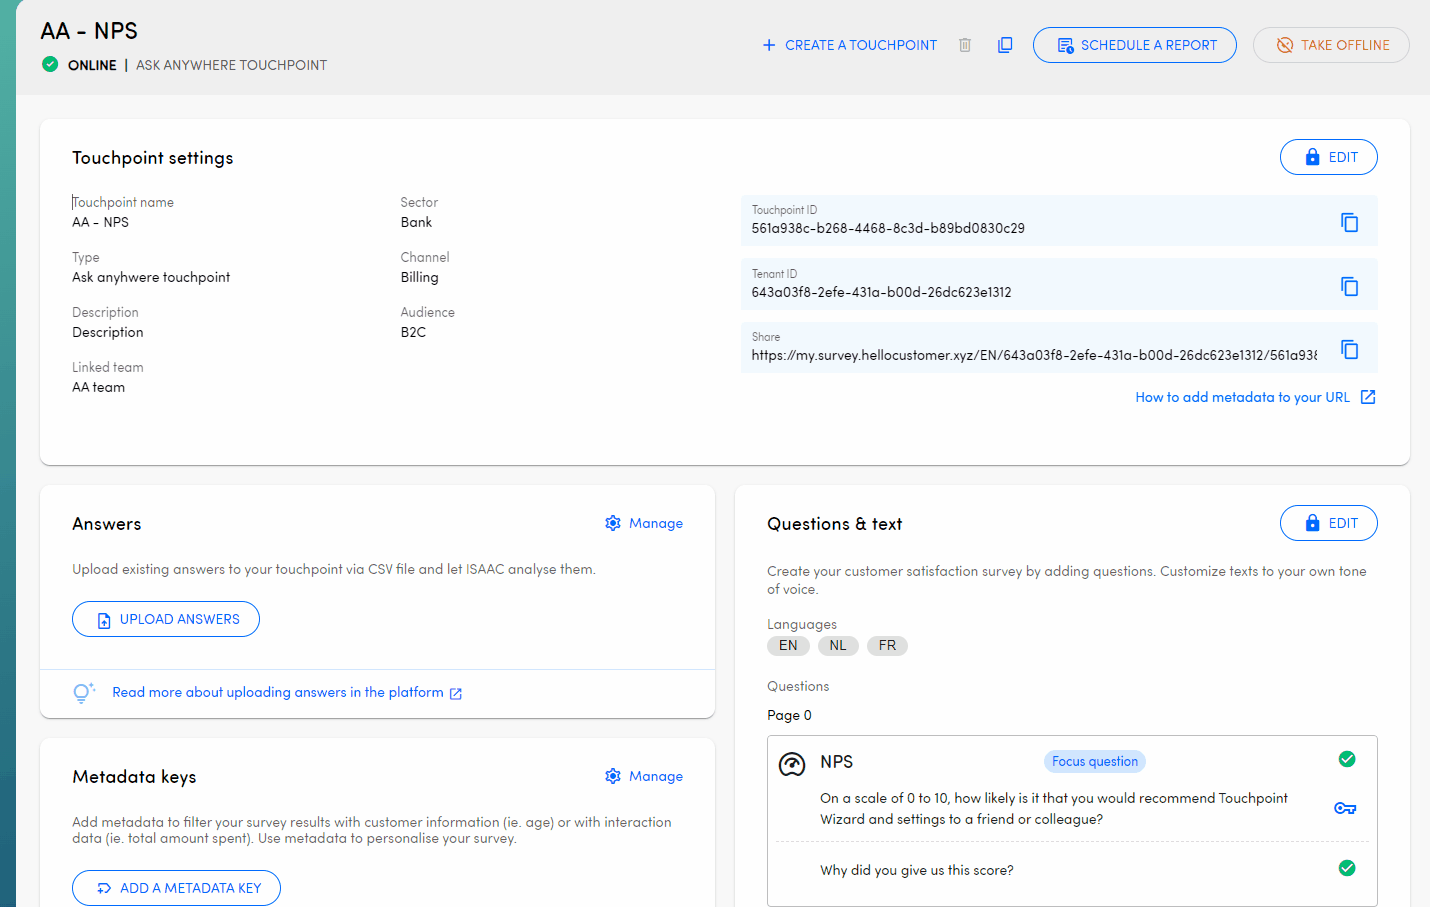
From the home screen of your Hello Customer account, click on the Touchpoint Settings Icon on the right of the touchpoint name.

Option 2:
- Step 1:
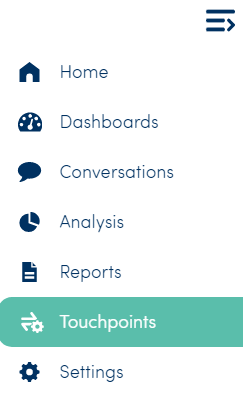
On the home page of your Hello Customer account, click Touchpoints on the left side.
- Step 2:
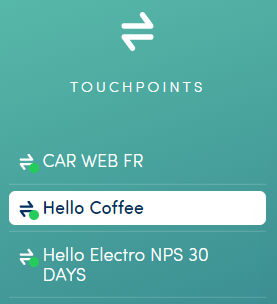
Select the touchpoint you want to work in. If your touchpoint is out of production, you can see it by clicking on Show all.
- Click Edit in the Touchpoint Settings section
If your touchpoint is already online, click on the locked edit icon first. This will temporarily disable the touchpoint and allow you to adjust the settings.
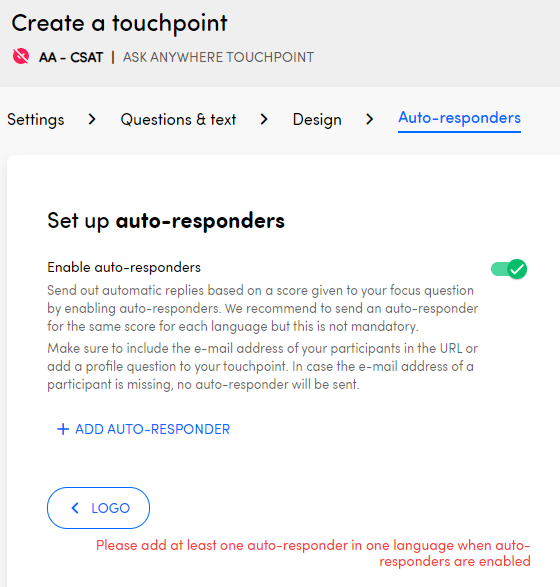
- Navigate to the Auto-responder section.
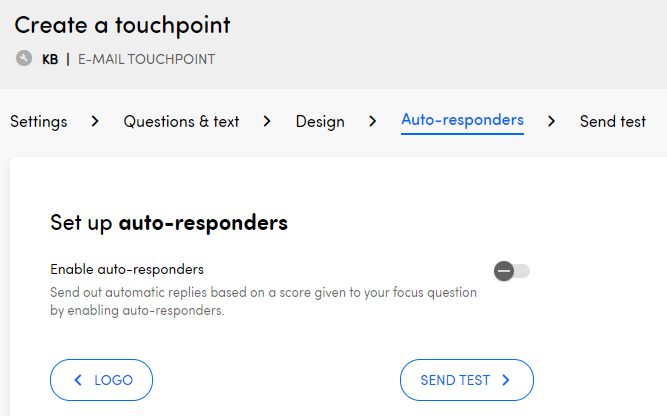
- Click the slider to enable or disable the Auto-responder

- Add as many Auto-responders as you want.
IMPORTANT
Do not forget to re-activate your touchpoint once you changed your settings in the touchpoint settings page.
NOTE
If you enable the auto-responder, you will have to configure it as well. Follow the steps below to configure auto-responders.
2. Configuring auto-responders:
- Go to Touchpoint Settings
Option 1:
From the home screen of Hello Customer account, click on the Settings Icon below the touchpoint name.
Option 2:
- Step 1:
On the home page of your Hello Customer account, click Touchpoints on the left side.
- Step 2:
Select the touchpoint you want to work in. If your touchpoint is out of production, you can see it by clicking on Show all.
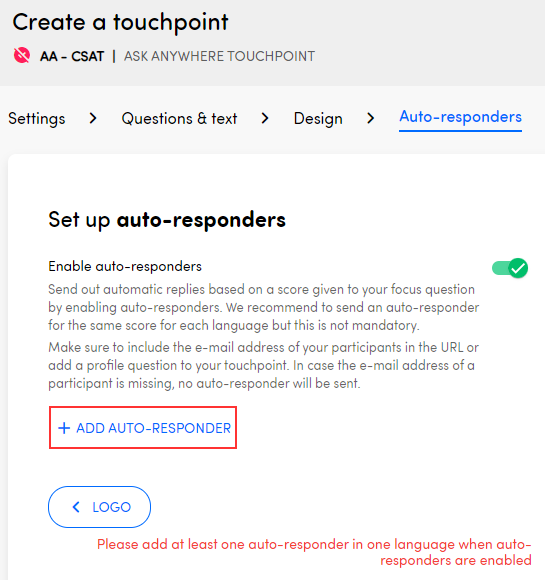
- Navigate to the auto-responder section in the touchpoint settings
- Click "Add auto-responder"
NOTE
You can add as many auto-responders as you like (for every language and for every value).
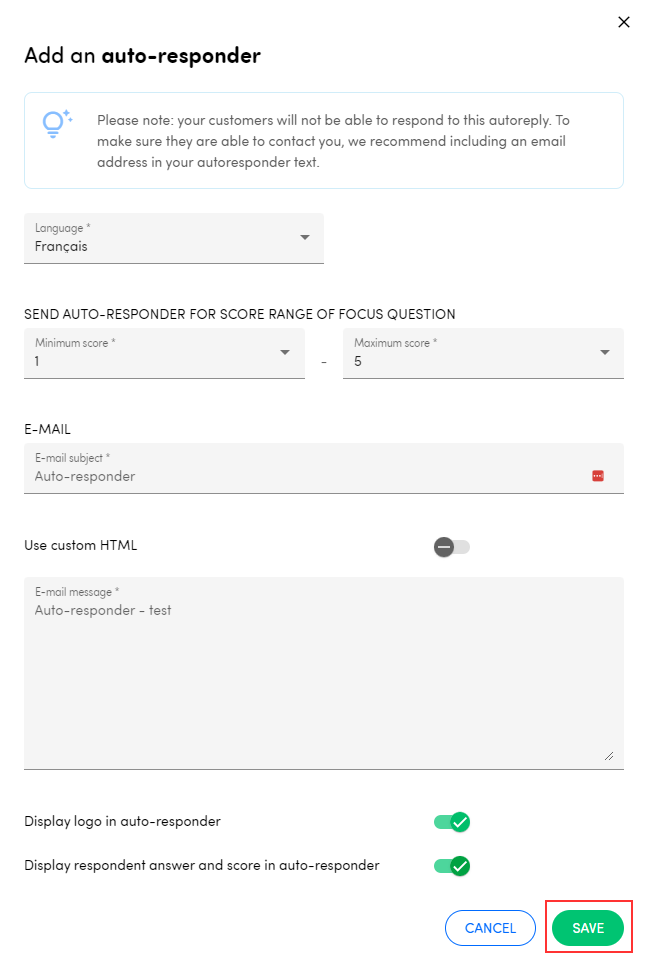
- Fill in the following information:
| Email subject | Enter the subject of the auto response email. For example: "Thank you for your feedback". |
| Min. score | Enter the minimum value for the auto response email. |
| Max. score | Enter the maximum value for the auto response email. |
| Language | Choose the language of the auto response email. |
| Use custom HTML | Indicate if you want to use a custom HTML. If that is the case, paste your HMTL code in the box that appears. |
| Show logo | Indicate if you want your logo to appear on the auto response email. |
| Body text | Write the body text of the auto response email. |
| Display participant anwer and score | Inicate if you want your respondents answer and score to be visible in the email. |
When sending an automatic answer (auto-responder) to your respondents, make sure to include an email address to which they can send extra questions or feedback. It will not work if they try to answer this automatic reply directly from their email client.
NOTE
Keep in mind that the Net Promoter Score (NPS) range from 0-10, the Customer Effort Score (CES) range from 1-7 and the Customer Satisfaction Score (CSAT) ranges from 1-5.
For more information on NPS scores, please read our article on how to interpret NPS values.
For more information on CES scores, please read our article on how to interpret CES values.
For more information on CSAT scores, please read our article on how to interpret CSAT values.
- Don't forget to click Save on your newly created auto-responder.
IMPORTANT
In order to be able to launch your touchpoint, you need to create at least one auto-responder in each language and the same amount of auto-responders in each language.
IMPORTANT
Auto-responders cannot be tested using the Test Survey option because test survey responses are not recorded in the system and therefore do not trigger auto-responder messages. To properly test how an auto-responder will appear, you need to add yourself as a participant to the survey, complete the survey as if you were a respondent, and submit it. This ensures the response is logged in the system and the auto-responder is sent as expected.